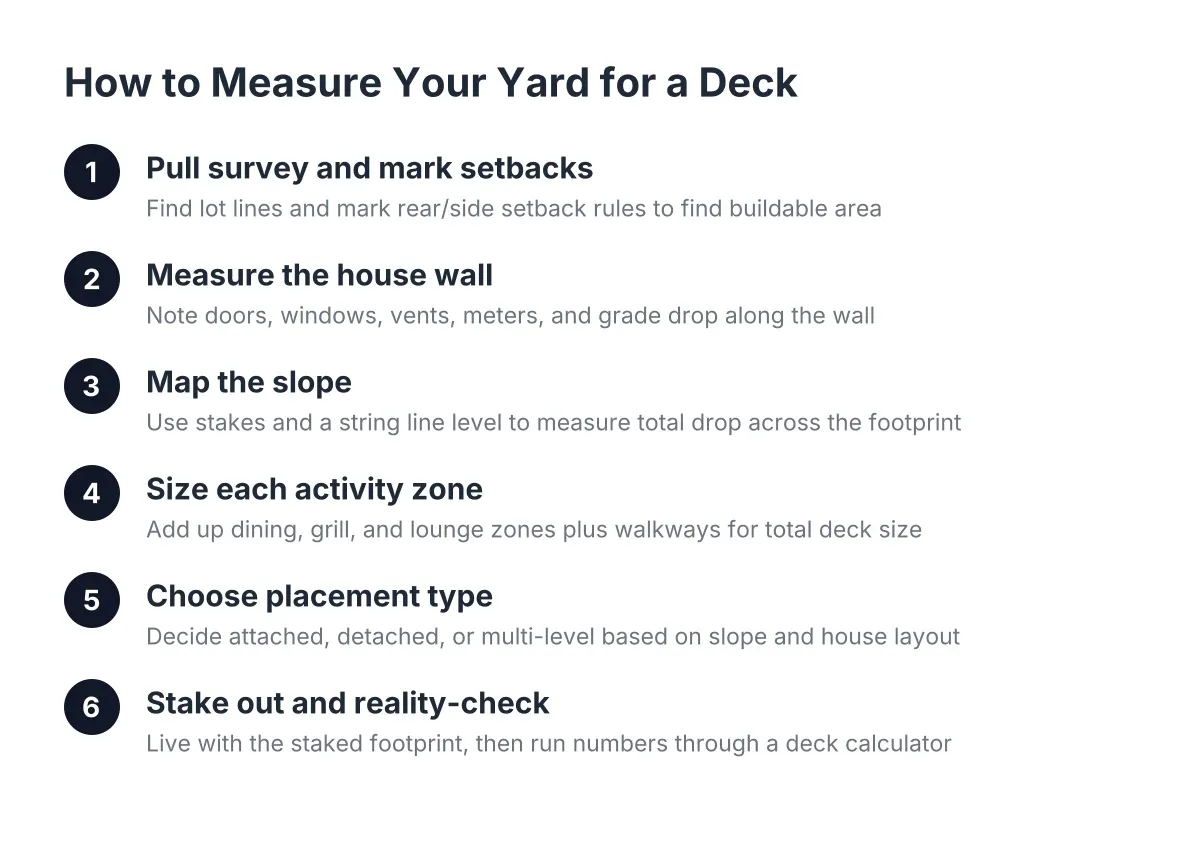
How to Measure Your Backyard for a Deck: Layout Planning Before the Deck Calculator
Before you type a single number into a deck calculator, you need real measurements from your own backyard. Most online tools assume a flat lot and a blank check. Buffalo yards are rarely flat, and setback rules in Erie County towns can shrink your buildable space faster than any budget line. This guide walks you through measuring your yard, mapping your constraints, and landing on a deck size and shape that actually fits, so the numbers you plug into any deck calculator reflect what you can actually build.
This matters most if your backyard slopes. A plan drawn for a flat lot falls apart the moment someone stands in your yard with a level. Measure first, design second.
Step 1: Pull Your Property Survey and Mark Your Setbacks
Start with paper, not a tape measure. When you bought your home, you likely received a property survey showing your lot lines. Dig it out, or request a copy from your town or closing attorney. Guessing at lot lines is how decks end up two feet over a setback and in front of a zoning board.
Next, check your town's setback rules. In most Western New York towns, a deck attached to the house counts as part of the structure, which means rear and side setbacks apply. Typical rear setbacks in Buffalo-area suburbs run 20 to 40 feet, and side setbacks often run 5 to 10 feet, but every town sets its own numbers. Call the building department or check the town code online before you sketch anything.
Mark the setback lines on a copy of your survey. The space left over is your real buildable area. For a lot of new-construction lots in WNY, that box is smaller than homeowners expect, and it shapes everything that follows.
Step 2: Measure the House Wall Where the Deck Will Attach
Measure the full width of the back wall of your house, then note everything along it:
- Door locations and swing direction, including the threshold height above grade
- Window positions and sill heights, since a deck surface near a basement window creates a code problem
- Hose bibs, dryer vents, electrical meters, and AC condensers
- The height from the door threshold down to grade at several points along the wall
That last one matters more in Buffalo than almost anywhere else. If your walking surface ends up more than 30 inches above grade, New York's residential code requires a 36-inch guard height, according to Mister Baluster. On a sloped lot, one end of your deck can be 18 inches off the ground while the other end is 5 feet up. Measure the grade drop along the wall so you know where railings become mandatory, not optional.
Step 3: Map the Slope with a String Line and Stakes
Here is the step most homeowners skip, and it is the one that decides whether you get a flat deck, an elevated deck, or a multi-level layout. You do not need surveying equipment. You need stakes, mason's string, a line level, and a tape measure.
Drive a stake at the house wall and another at the far edge of where you think the deck will end. Tie the string at grade on the house stake, level it with the line level, and measure the distance from the string down to the ground at the far stake. That number is your total drop across the deck footprint. Repeat side to side.
As a rough guide for reading your results:
- Under 12 inches of drop: a single-level deck close to grade usually works
- 12 to 30 inches: a single elevated level with stairs, or a gentle two-level design
- Over 30 inches: a multi-level deck often makes more sense than one tall platform with a long stair run
Suppose a homeowner in a newer Lancaster subdivision measures a 38-inch drop over 16 feet. In that scenario, one big elevated platform would need a tall railing all the way around plus a 7-step stair to the yard. A two-level layout, with an upper level at the door and a lower level stepping down toward the yard, breaks that height into usable stages and makes the slope work for the design instead of against it.
Step 4: Size Each Zone by What Goes on It
Forget standard deck sizes for a minute. Size your deck by activity zones, then add them up. Furniture does not shrink to fit a deck that was sized by a round number.
Use these working minimums:
- Dining table for six: about 12 by 12 feet to pull chairs out and walk behind them
- Grill station: a 6 by 8 foot zone, kept away from the door swing and any window
- Lounge seating for four: roughly 10 by 10 feet
- Walkways between zones: 3 feet minimum, 4 feet if two people pass each other
A dining zone plus a grill zone with a walkway lands near 12 by 20 feet, or 240 square feet. That is a common size for WNY family decks, and it is a useful baseline when you compare quotes. On a multi-level design, assign each level one clear job. An upper level for cooking and dining near the kitchen door, and a lower level for lounging, beats one oversized platform trying to do everything.
Small yards flip this logic. For small deck ideas on a tight Buffalo city lot, a 10 by 12 foot deck with a built-in bench along one edge often holds more usable space than a 14 by 14 deck crowded with freestanding furniture.
Step 5: Choose Attached, Detached, or Multi-Level Placement
An attached deck connects to the house with a ledger board and puts the outdoor space one step from the kitchen. It is the default for a reason: shorter trips with food, easier framing, and better use of the door you already have. However, attachment points, flashing, and ledger connections must handle freeze-thaw cycles and snow load, so this is framing work worth doing right.
A detached deck floats free of the house on its own footings. It makes sense when the best flat spot sits away from the house, when you want a platform beside an above ground pool, or when the house wall has obstacles like a walkout basement window band. The trade-off is a path between house and deck, which means shoveling in a Buffalo winter.
For sloped yards, multi-level placement is often the honest answer. Instead of fighting the grade with tall posts and fill, each level sits closer to its own grade. Footings still need to reach 42 inches below grade for frost protection in WNY either way, so stepping the deck down the slope does not add footing depth, just footing count.
Step 6: Stake Out the Footprint and Live with It for a Week
Take your zone sizes and slope numbers outside. Stake the corners of the proposed deck, run string between them, and set lawn furniture inside the lines. Walk the path from the kitchen door to the grill zone. Check where the afternoon sun lands in July; western exposure in WNY means hot evenings without shade planning.
In addition, look at sightlines. Stand where the lounge zone will be and check what you see: your yard, or your neighbor's garage. Check drainage after a rain. Water that pools inside your string lines will pool under your deck, and poor drainage under framing shortens its life. This one week of living with the stakes catches layout mistakes that are cheap to fix on paper and expensive to fix in pressure-treated lumber.
Step 7: Use a Deck Calculator to Run the Numbers, Then Reality-Check Them
Now your calculator for decking earns its keep. With a real footprint, a measured slope, and a known railing requirement, a materials or cost calculator gives you a useful ballpark instead of a flat-lot fantasy. Multiply length by width for each level to get square footage, and add stair runs separately since stairs cost more per square foot than deck surface.
For budget framing, national figures help set expectations. A professionally built deck averages $30 to $60 per square foot according to NerdWallet, citing Angi, with labor alone typically running $15 to $35 per square foot. Elevated and multi-level decks land toward the higher end because of extra footings, taller posts, more railing, and stairs. Composite deck boards cost more upfront than wood but skip the staining cycle that Buffalo freeze-thaw weather demands of lumber.
One honest caveat: no online tool prices snow-load framing, 42-inch frost footings on a hillside, or your town's permit path. A calculator estimates materials; it does not engineer a structure. For an elevated or multi-level deck on a real slope, have a local deck builder verify footing locations and framing before you lock in a budget. Solid deck size and layout planning up front is what keeps the quote from ballooning once someone finally stands in your yard.
What to Have Ready Before Design Starts
If you worked through these steps, you now have what most homeowners never bring to a first design meeting:
- A survey copy with setback lines marked
- Grade drop measurements across the footprint
- Zone sizes based on your actual furniture and habits
- A staked footprint you have tested for a week
- A square-footage number and a calculator-based budget range
That package turns a vague "we want a deck back there" conversation into a real design session. Instead of browsing deck design ideas or downloading free deck blueprints drawn for someone else's flat lot, you walk in with your yard's real numbers. A deck builder who specializes in multi-level and elevated construction can take those measurements and show you how stairs, levels, and railings solve your specific slope, with permits and 2026 code requirements accounted for from day one.
If you need deck building, WNY Deck Builders can help.
Prefer to talk it through? Call (716) 317-4901 — a quick call is usually the fastest way to get a straight answer for your situation.